By Michael Lane
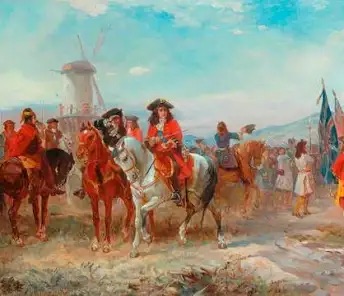
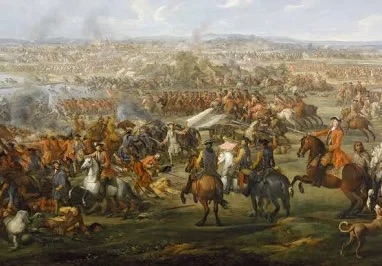
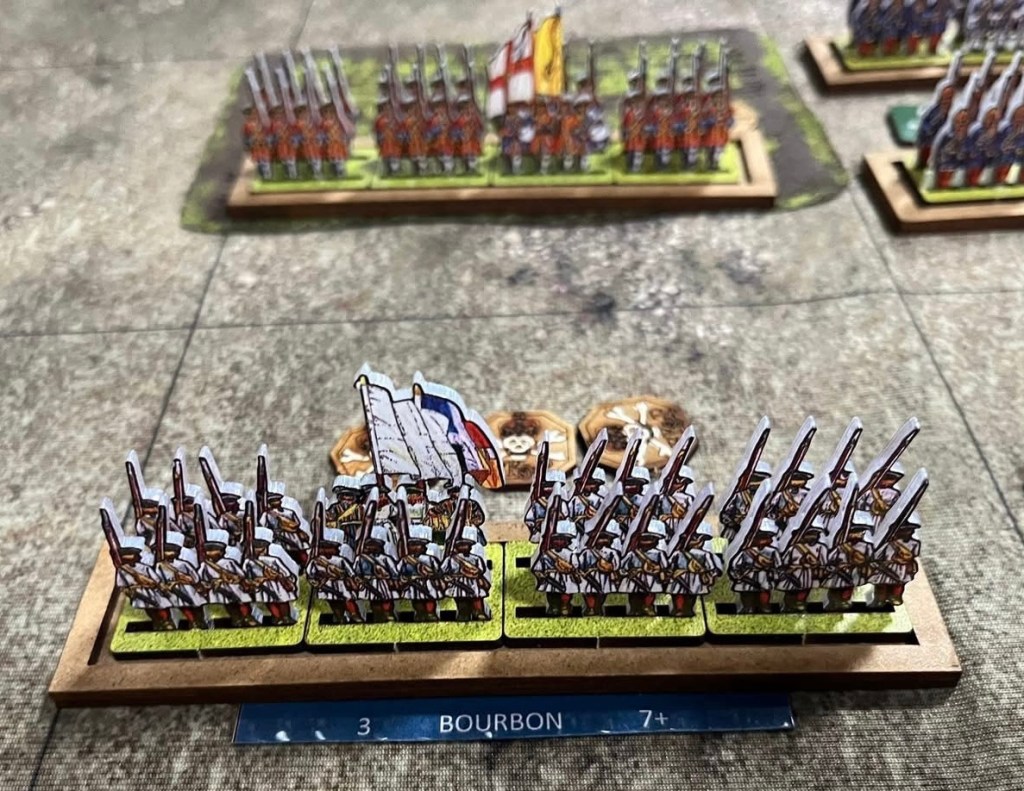
Yesterday saw another visit to Firestorm Games and an initial outing for my new 18mm WoFun War of Spanish Succession figures. An Allied British and Dutch army commanded by our own James Churchill fought the French Army of Louis XIV under my command.
We used Simon Miller’s new “Lust for Glory” rules using an almost up-to-date version for another play test. We did use the later change to the rules for troops charged in the flank or rear or caught when evading. Instead of having a hit bonus for their attackers, the attacked unit has to take a rout test. Therefore a cavalry squadron that fails its rout test is then automatically destroyed as it has been charged! I like that change a lot!
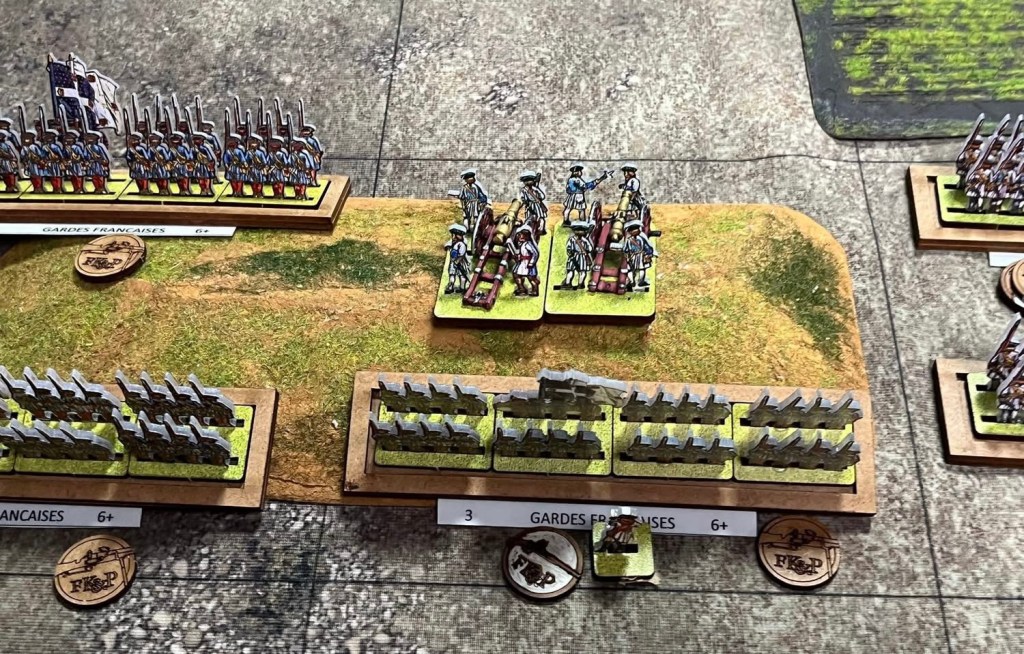
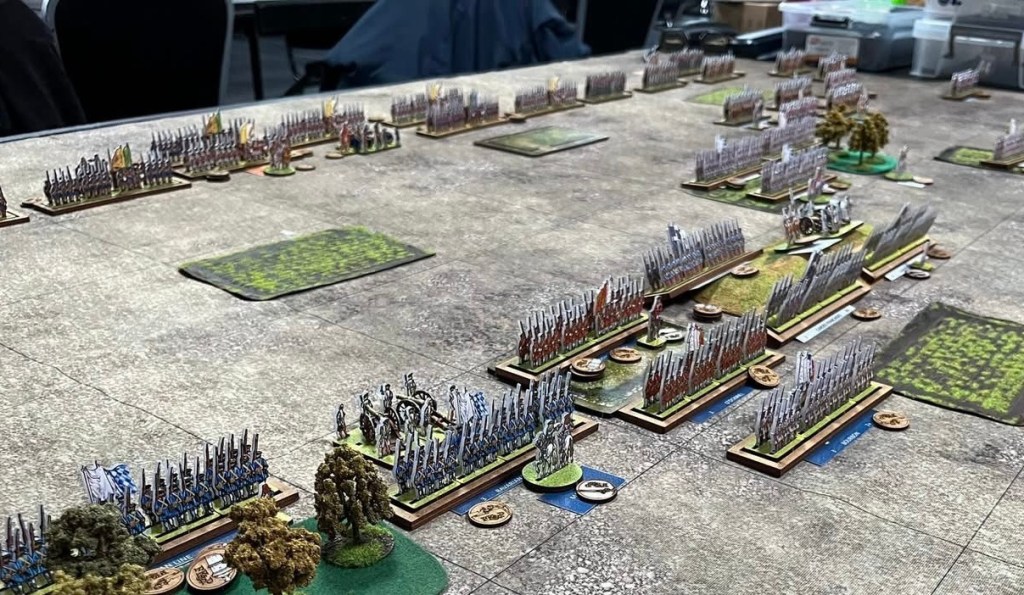
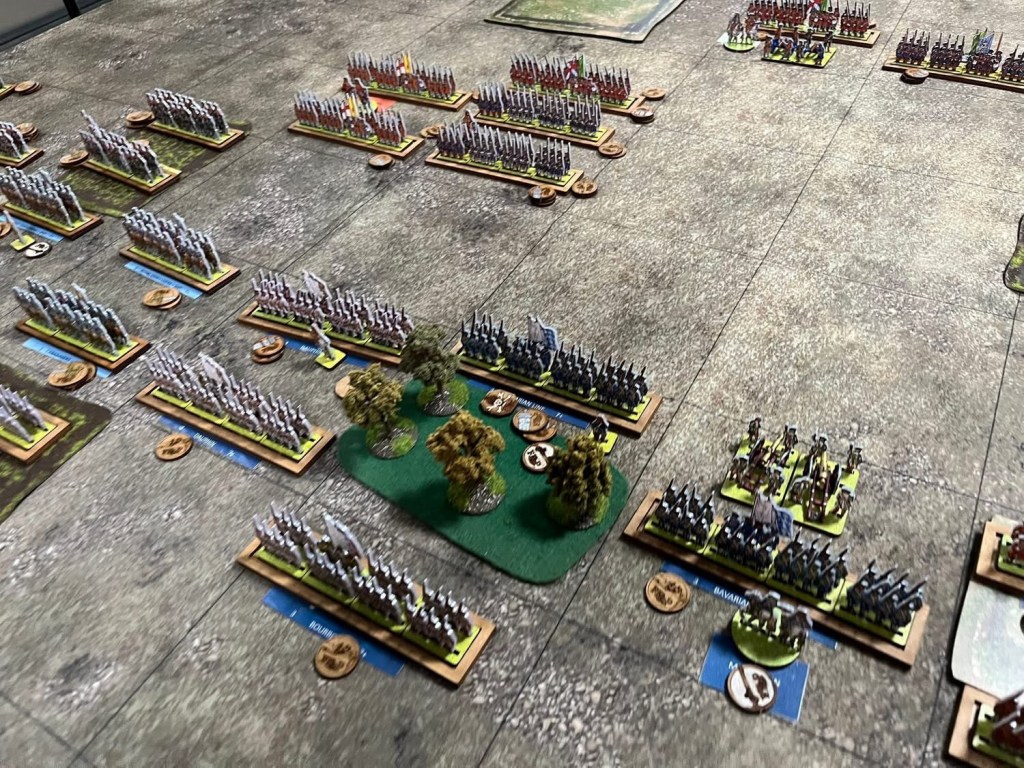
I was lucky enough to outscout the Allies (we had the same scouting strength so it was solely on the draw of the cards) so James deployed his first command to begin the process. As usual we had a cavalry wing on each flank and two infantry commands in the centre. Each infantry command had a single battery of guns.
James had deployed his right wing horse a little further over than mine and then expanded further over into the flank box. In response I started to move my horse sideways to match but the second pair of squadrons in a box drew a “two” to move over and failed, leaving a hole in my line. In retrospect I would have been wise just to move the one unit over from each box so as to maintain a continuous line. Anyway James was swift to pounce on this “gap” sending a squadron through it whilst attacking frontally.
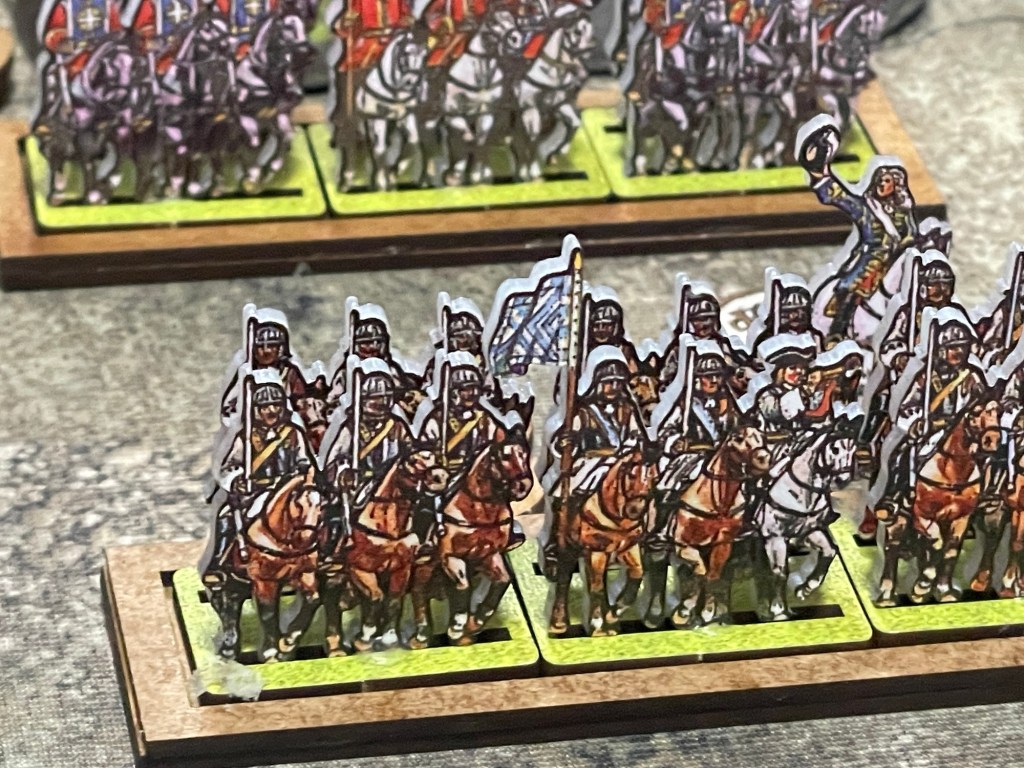
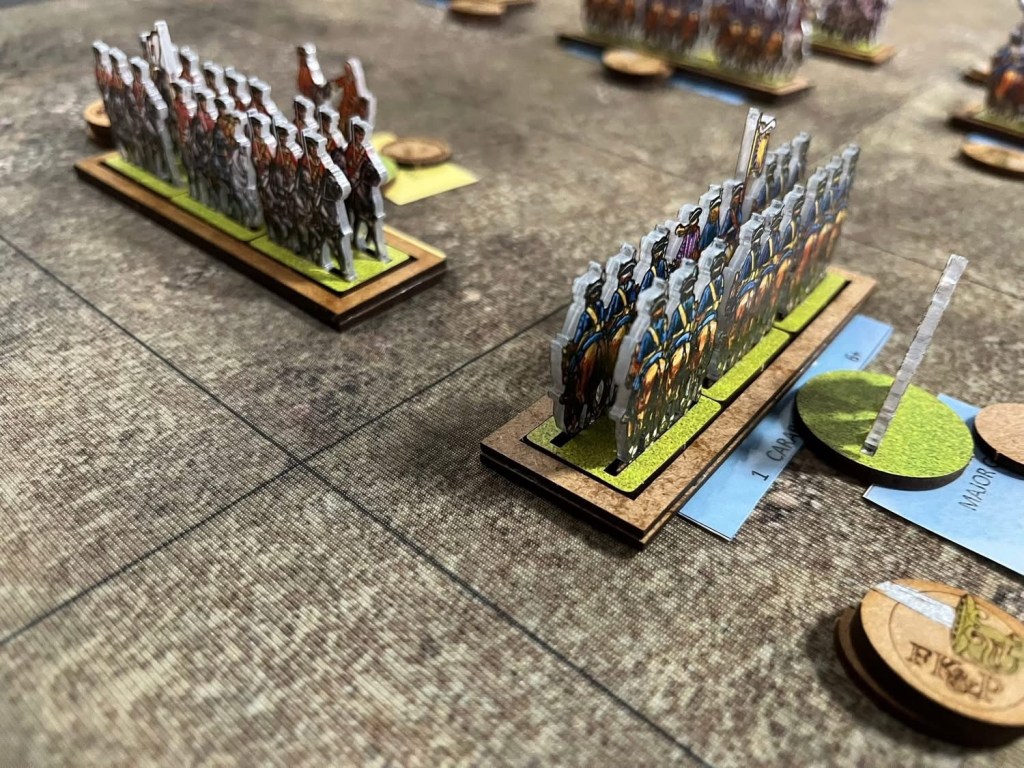
My French horse were all classed as “Shooters” while the Allied horse were all “Chargers”. This meant my horse stood to receive a charge and shot at the approaching horse with pistols hitting on a “Nine”. We also hit back if we survived the charge but, if hit, fell back shaken. If the Allied horse could activate to charge them again then the shaken French horse would be automatically destroyed. This did not occur as often as you might think.
Over on my right where I had Superior horse, Mousqutaires of the Maison du Roi, and Bavarian Cuirassiers I managed to attack but that attack soon faltered as I lost a squadron and the resulting gap allowed the Dutch Horse to wreak mayhem as I continually lost squadrons on that flank, however I did manage to charge one Allied Squadron in the rear which failed its rout test and was lost. However by that time I had already lost two squadrons to the same cause, flank or rear attacks. By the end of the game I still had two squadrons fighting on against five Allied squadrons, both of my squadrons having been successfully rallied from being shaken. James had been unable to finish them off whilst they were shaken.
Meanwhile the infantry secured positions from which to defend an enemy attack on each side with the artillery engaging in a lot of firing of round shot at effective range. I had several units suffer under such fire as did James but his guns won the artillery duel as I had one battery destroyed by a combination of roundshot and musketry which finished them off. My other battery was disordered at the end.
On my left I was left with only two squadrons fighting on and both were lucky to survive James’ penultimate turn when one was charged in flank and front while the other was charged in front and both flanks! Phew!
However James by then had moved up with his right wing foot with two Battalions of British Foot Gards, two other British battalions and two Prussian battalions. They attacked as my left wing horse were losing their own battle. The fighting was intense and soon French infantry battalions became shaken (having taken three disorders) and then broke on being charged or hit again by shooting. We were using battalion guns for the first time and they were lethal. My first French battalion to go carried off its Colonel too which cost me four Victory Medals, a chastening contrast to losing one Medal only on losing a cavalry Squadron!
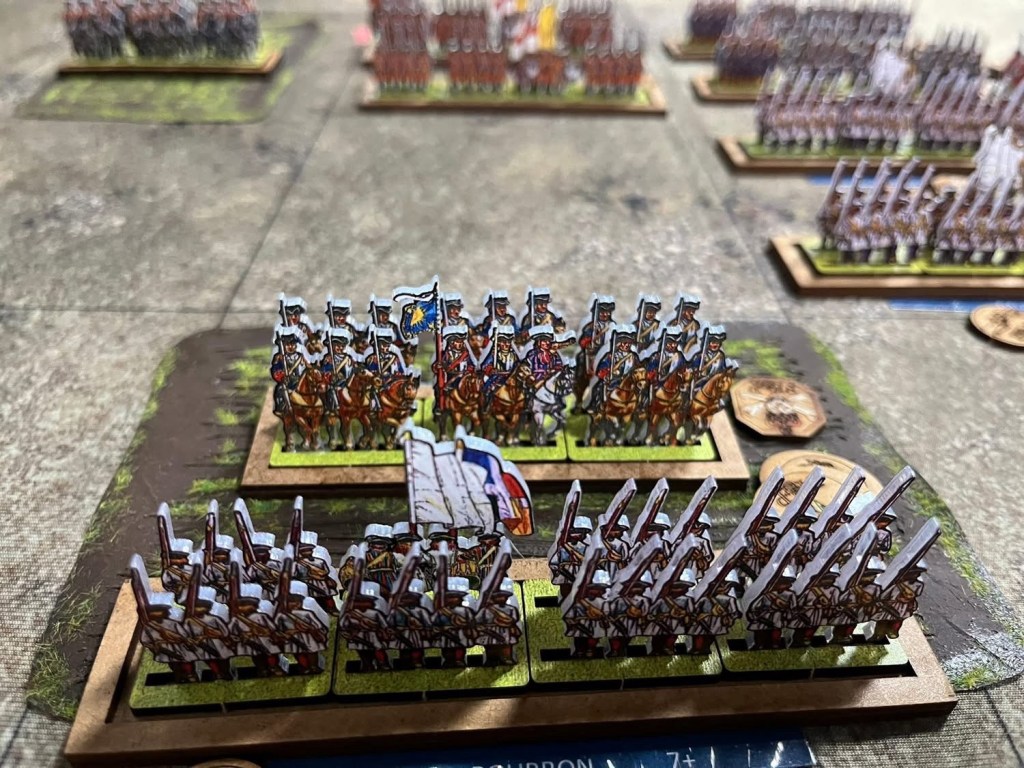
More battalions became shaken. We dished out damage on the attacking British and Prussian battalions but not enough. Several of their battalions were shaken but it was not enough. We did kill two Allied Generals but those four Victory Medals were too few as the loss of my final French infantry battalion who were charged by the British Foot Guards as the first activation of James’ final turn automatically destroyed the shaken French battalion of the Bourbon infantry regiment. My last of twenty three Victory Medals was lost. I had gained but five from the Allies.
It was all over but what a fight it was! Once again the simple rule mechanisms worked well with little need to refer to the rules. However with 12 cavalry squadrons on each side, 14 Allied battalions facing 15 French battalions and two batteries each, there was a lot to do in each turn. As commanders we each had four Major Generals to command the four brigades of each army aided by six Colonels attached to individual squadrons or battalions. In addition we had a commanding General and a Lieutenant General in supernumerary roles. So far their favoured supernumerary role has been attached to a field gun battery where their “re-draw” ability is helpful to keep up a good rate of fire. In my last Seven Years War battle with these rules I rashly moved Frederick the Great into the very frontline where he was lost losing four Victory Medals!
A great afternoon and early evening of gaming! We shall do this again!


Leave a comment