By Sid
Having prepared my list for the Barons War (BW) Grand Melee at Firestorm Games at Cardiff, the day finally arrived. Despite my best efforts to get an introductory game before the competition I was unable to get a game, so I was going to arrive having only read the rules and watched youtube, very 21st century!
So, on Sunday 5th October I left the house to travel down the M4 to Cardiff. The road signs were all warning of heavy traffic because of the Cardiff Half marathon, but fortunately the comp was starting before all the road closures. I’m sure that we lost many gamers who preferred to run the half marathon then have a game of Barons War!
On arrival Mark Vance had everything organised smoothly and efficiently. He looked very sartorial in his snazzy waist coat with the arms if England and France, plus his peaky blinders hat as a wink to his Midlands roots. All the tables were set up and the booking in reception was ready, with Firestorms own local boy, Jack helping with the IT and admin. Freebies were also on offer, a sprue of extra peasants and a metal dismounted knightly bishop. As it happens, a priest for my command group was exactly what I needed, but more of that later.
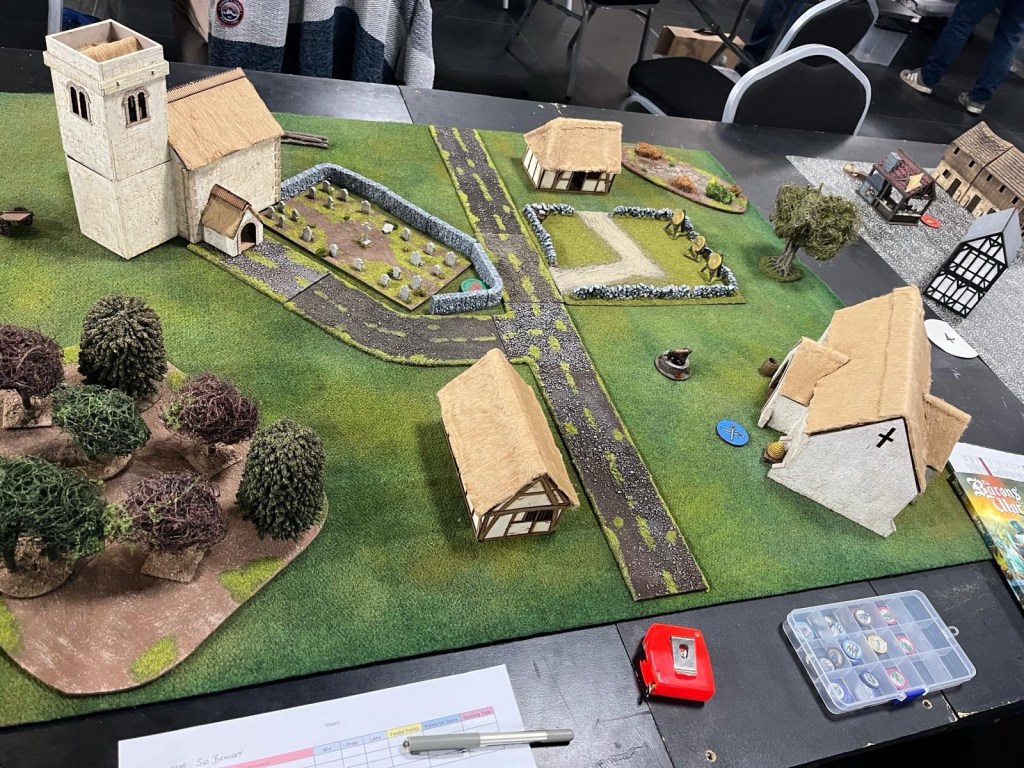
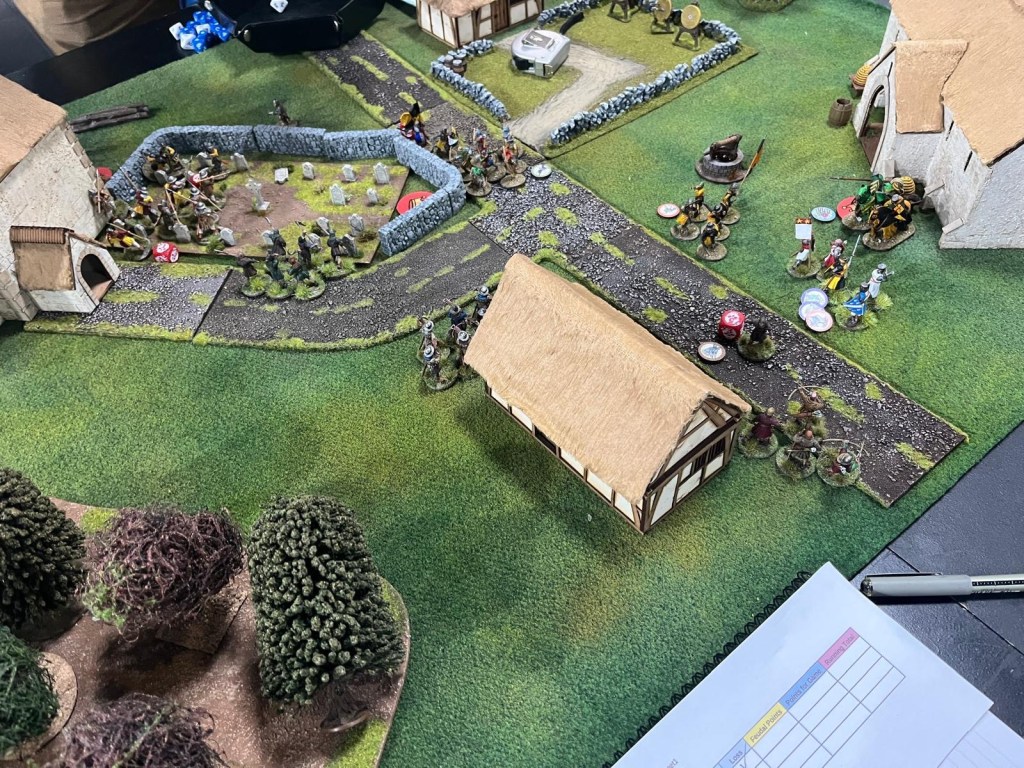
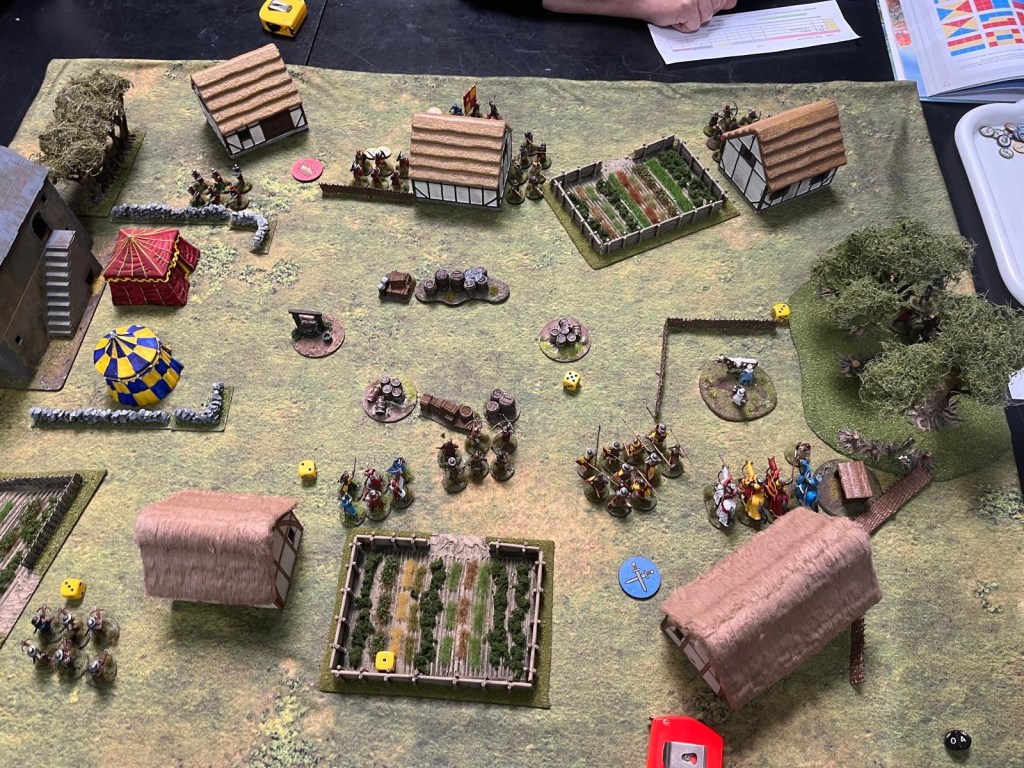
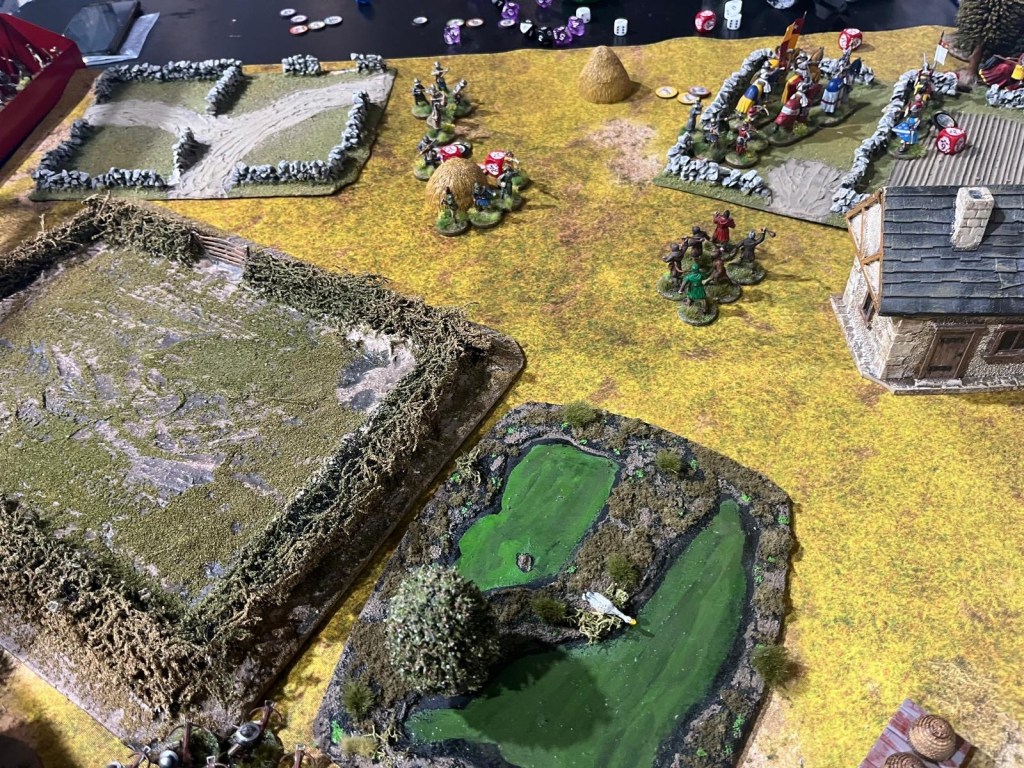
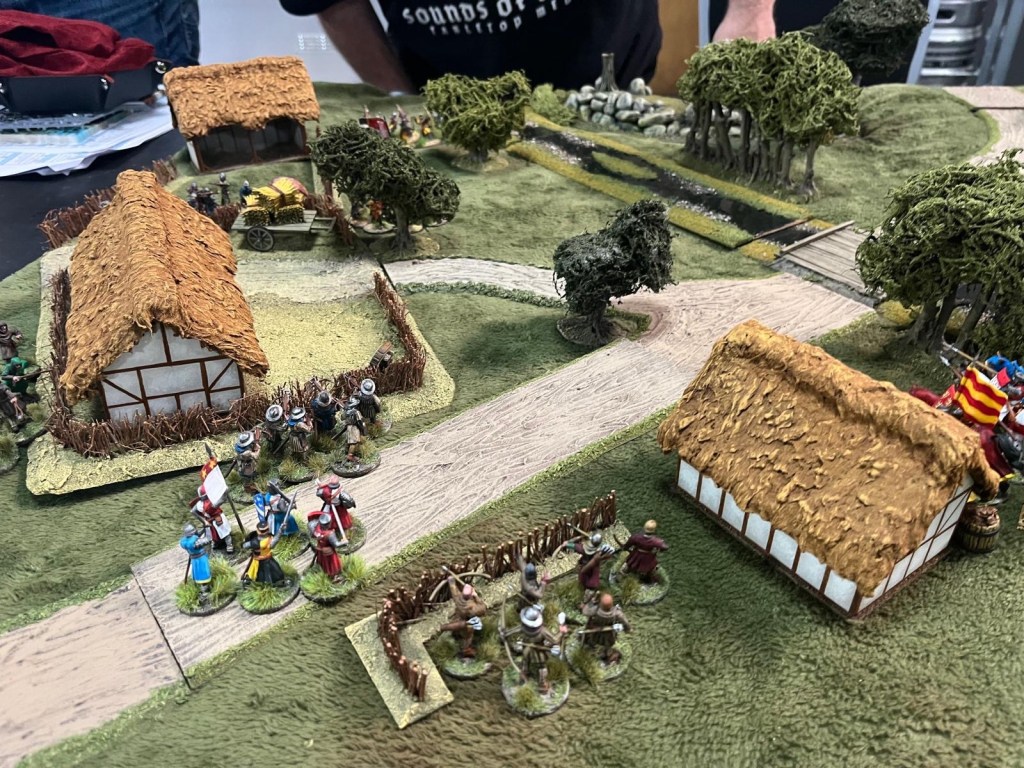
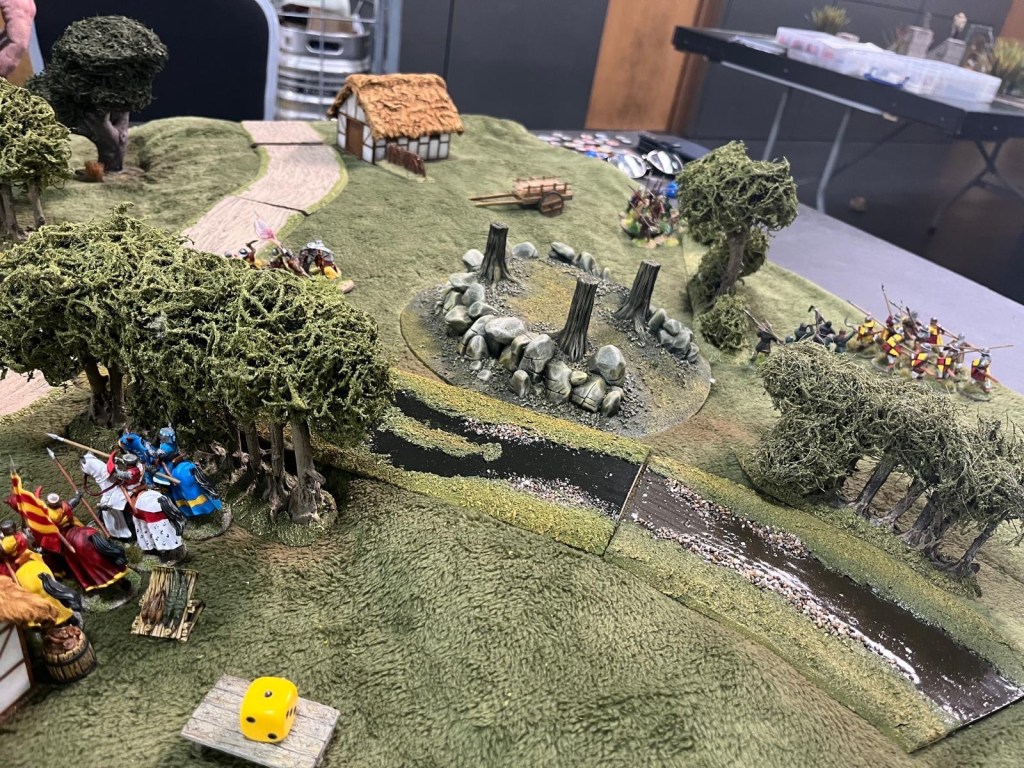
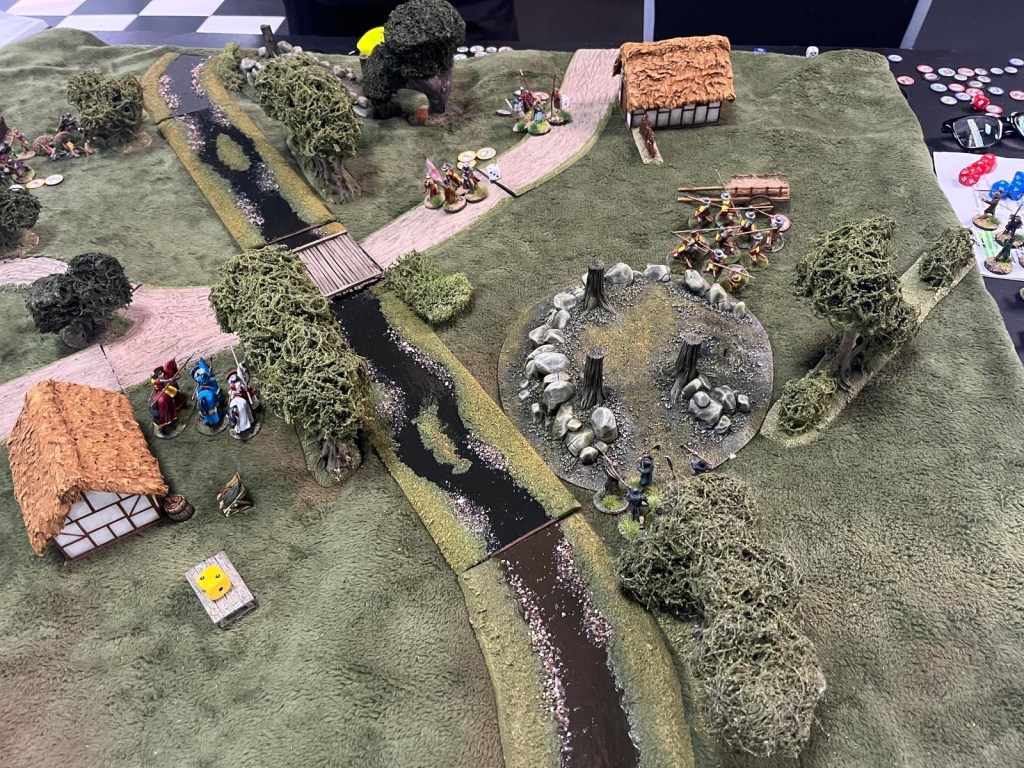
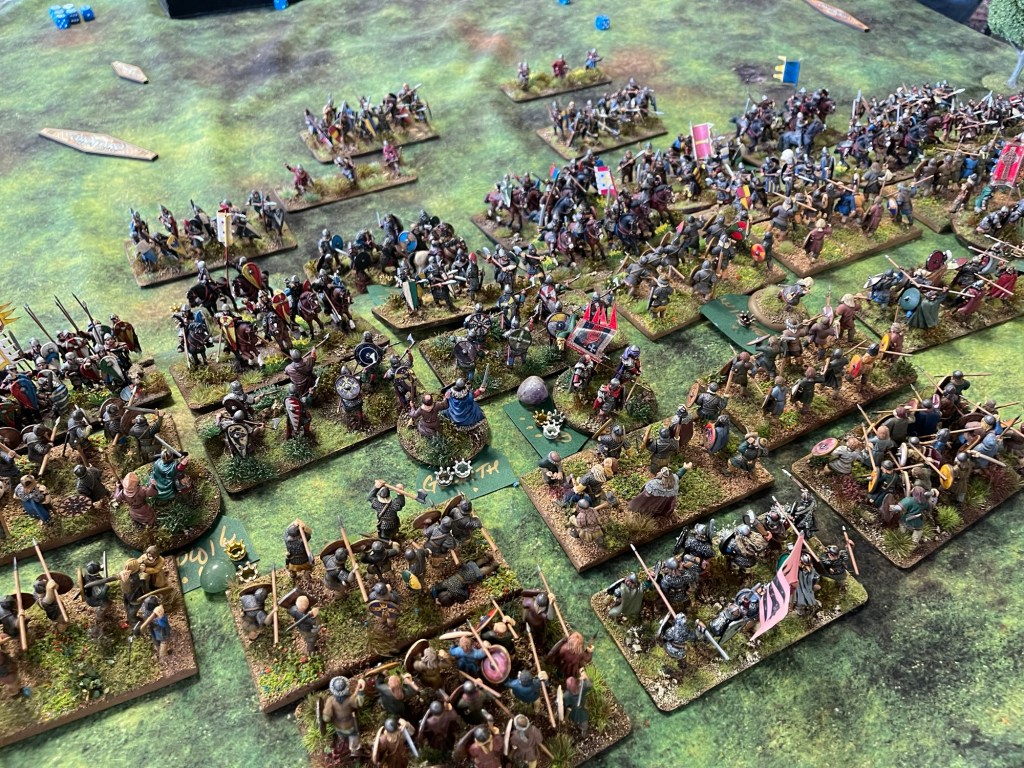
There were 15 tables set up and ready to go. Below are a random sample of the tables on show. All very characterful and with plenty of terrain. In Barons war, shooting can be very dangerous, so the game plays best with plenty of cover to allow units to get to grips without being shot down.
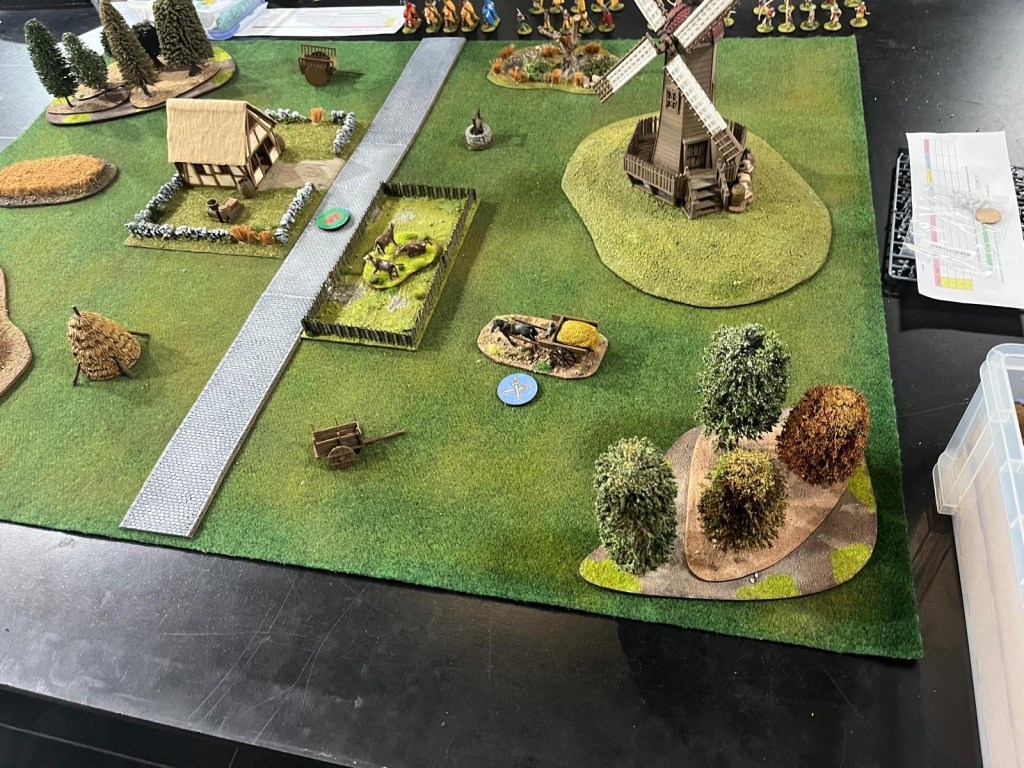

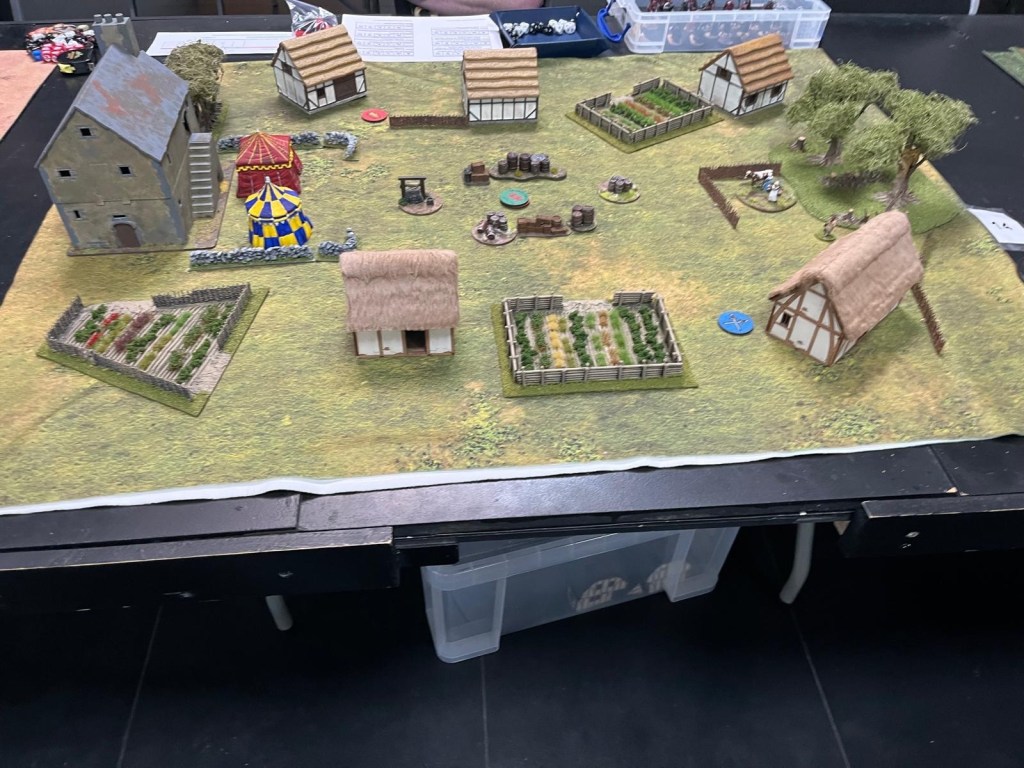
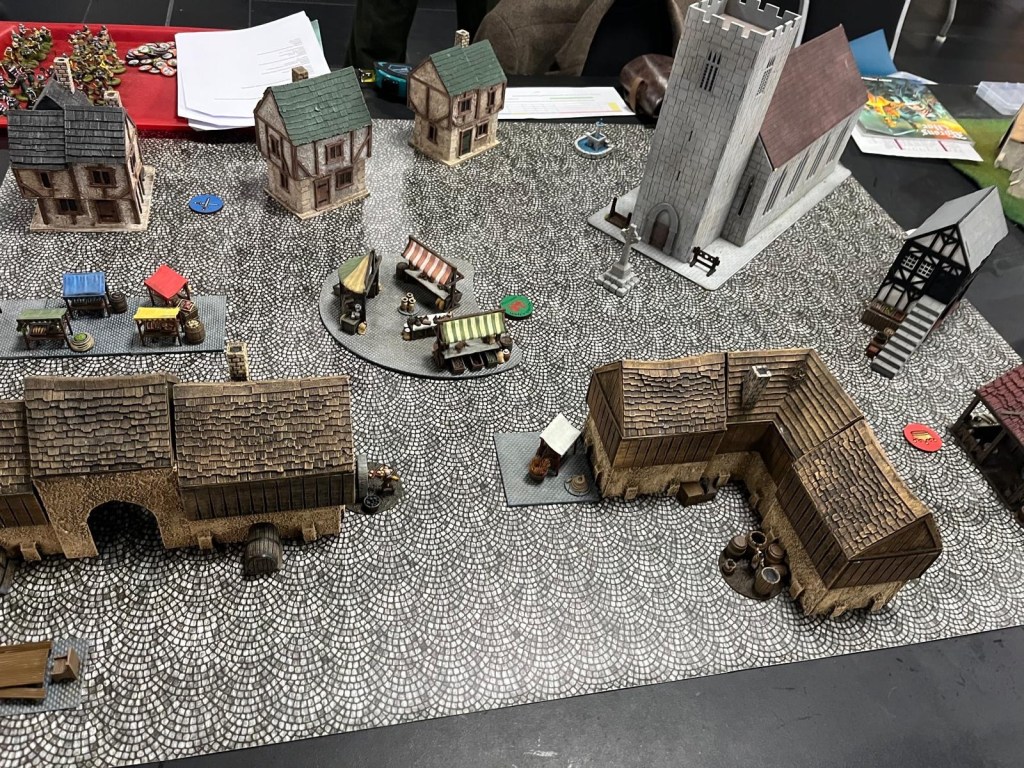
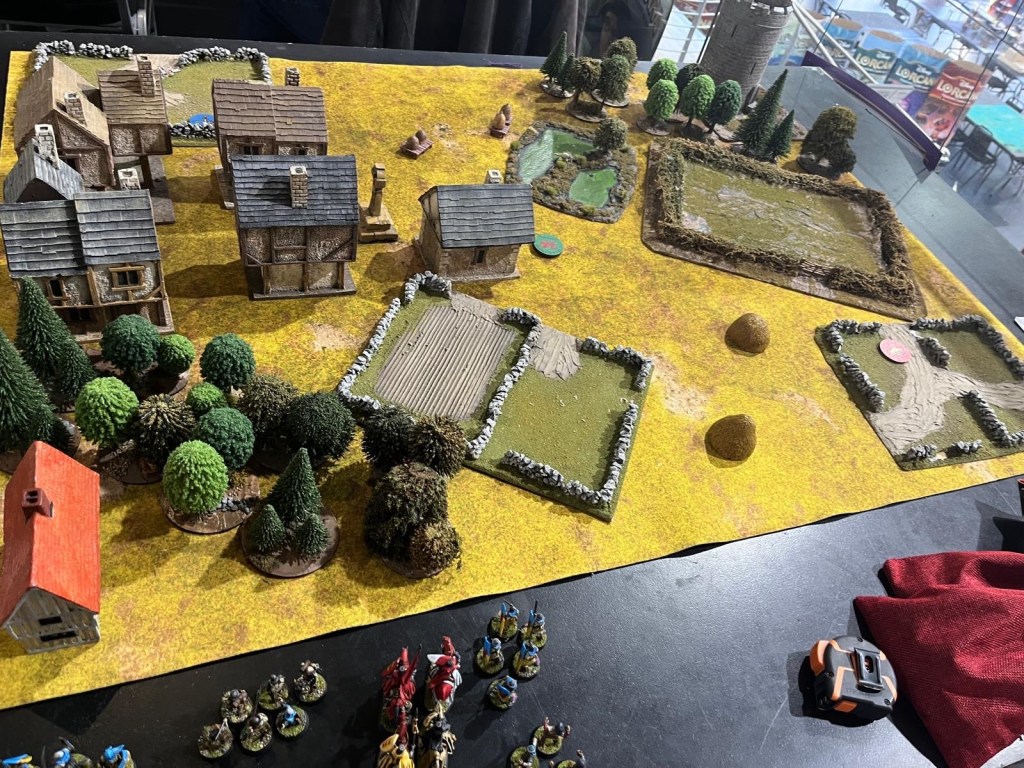
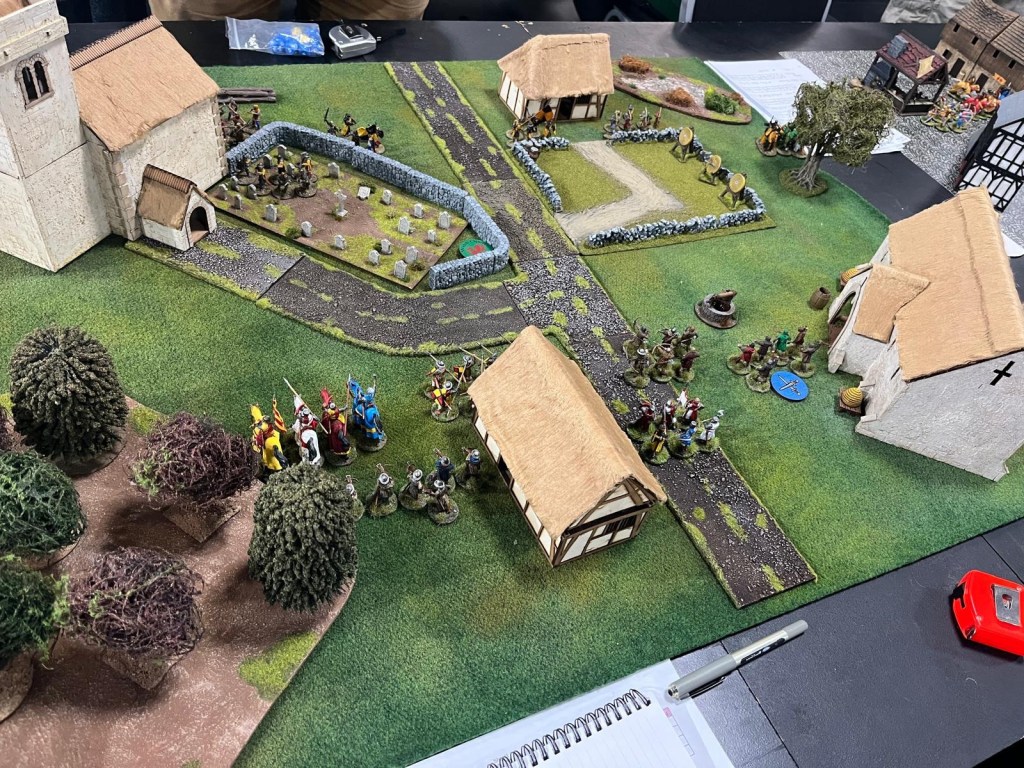
All the games were on a 4’ x 3’ table with scenarios and set up from the rule book, each game to be 5 turns to be played in 90 minutes.
My first game was against Chris King who had travelled up from Devon. A really nice bloke and spookily was from Wargames Soldiers and Strategy (WSS) magazine. As part of my original inspiration was the WSS podcast from last year (link in the previous blog) it was kismet. So, my first ever game of BW was in a competition, I did explain it to Chris who was supportive and took the time to go through a lot of the rules. We both found that our only issue with the rules was that it has no index, which in the age of IT seems very odd, AI could create an index in very short order. Who knows, maybe Wargames Atlantic could create an Index and have it as a download on their website.
The first scenario was Field of Glory using set up C, where the players deploy traditionally from their own base edge. There are three objectives, one in each players deployment area and a central one, if all three are controlled by a single player, then it’s an immediate win. Otherwise, it’s who has the most at the end of the game.
Chris deployed with a strong centre, his peasants holding his objective and his mounted knights on his far left.
I thought I could hold my objective and run my peasants and mounted knights around the church to grab his objective, whilst I contested the centre. I soon found out that shooting is nasty. My slingers were broken by Chris’ Archers, and his crossbows took down one of my elite mounted knights as they ran around the church. However, my spears did plunge into the churchyard doing terrible things to the crossbows. At the same time my own levy tried to run for the middle objective.
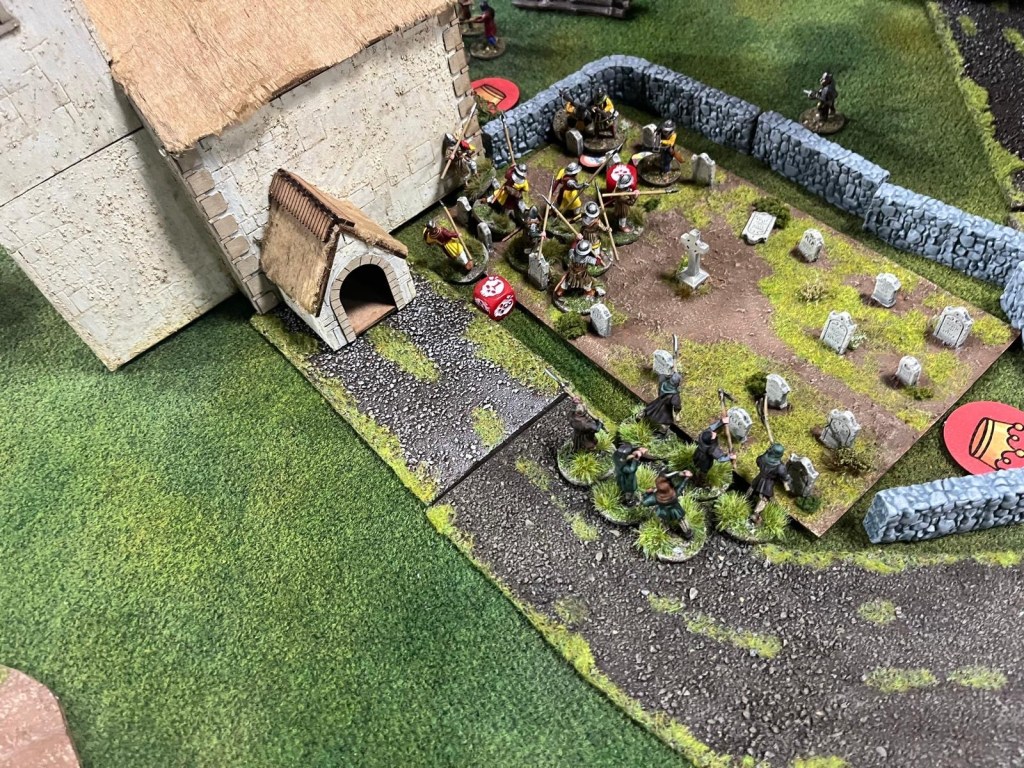
Meanwhile my own crossbows did horrible damage to Chris’ dismounted knights and command group forcing them back behind the wall. However, this group had kept his troops in the fight. I also found out why this group was full fat with banner, musician and priest. Mine only had a banner. Chris also had a second command group of sergeants with pennant and musician who put pressure on my centre.
I also found out that having broken troops in your retinue is terrible as you are forced to activate these guys first. This gives initiative to your opponent as he can always then get to activate a key unit first.
Chris’ archers had routed my slingers and his cavalry then ploughed into my archers as a follow up, driving them back, then reorganising them onto my objective. My dismounted knights were able to damage his mounted knights but couldn’t finish them off. My first charge failed as I rolled a 1 on my ‘Strength of Charge’ roll. This gave time for Chris to maintain control of the objective. When charging in BW 2 you charge your basic move plus 1d6.
On my left flank my mounted knights circled the church and kept their distance from Chris’ peasants to keep them from charging me. This was lesson 2, I should have relied on my knight’s great saves and stayed close. As it was, I was charged and to my shame the peasants killed a knight. In BW when you take a casualty, each casualty moves you back an inch, as I was close to the table edge, this meant I lost another knight as the model was pushed back of the table. The next pic shows my dismounted knights trying a last gasp attempt to kill the mounted knights, but those boys have an impressive save, especially when their activations are the defence option and eschew attacking. BW allows you to do this, so more options for each unit during the game.
We ran out of time and at the end of turn 4 and as Chris had more objectives he won. When chatting afterwards, I realised that at one point Chris had all 3 objectives, it would have beena sudden death win for him so the game should have ended in his favour. However, it did mean an extra turn for me to learn the game. My first ever game of BW and it really is very logical and intuitive. There are many small rules which I forgot, but it will come.
Not having two command groups with all the support was also a dose of reality for me, big lesson learned there. But a great game and my gratitude for Chris in showing patience with my noob ways.
Game two was against Rob Griffiths one of the gang from Birmingham who had made all this possible providing a lot of the support and terrain. The scenario was ‘Behind EnemyLines’ using deployment A, which draws a line from the bottom left to top right of the table so a diagonal deployment.There were two objective markers and a sudden death win if both were taken.
I had the bottom right side and Rob the top left. He had a large levy bow unit behind the fenced garden at the top and his crossbows sightly left of the top objective marker. His command units were both full fat and behind the buildings to the top, but no cavalry. I put my peasants to my left hoping to run behind the church to contest the far objective. My command unit was in front of the lower fenced garden and most of my units between them and the cow herd. It opened poorly with Robs first crossbow volley taking down two of my command units knights. Rob had initiative as his retinue leader had the experienced tactician ability meaning he rolled two dice for initiative selecting the highest, whereas I rolled a single dice. Really powerful for 2 points, another lesson learned on . Robs army was small but high quality.
In short Rob’s quality infantry pushed up the centre and I managed to throw my mounted knights into the centre to mix it up. My weakened dismounted knights were charged by Robs command unit made up of dismounted sergeants. I managed to break it and kill the commander giving me some bonus victory points. My peasants got around behind the church and damaged the crossbows. The mounted knights then also hit the crossbows breaking them. Unfortunately time was called in the middle of turn 4 so I couldn’t claim the objective. It was a draw but I was very pleased with the results and felt comfortable playing the game. Although I did forget some unit rules. After the game Rob was kind enough to give me a few more pointers. The point for the draw and 2 points for killing the leader of the sergeants meant my ambitions for the spoon were now over.
After lunch it was game 3 against Steve Barclay who had travelled across the country from Colchester, that’s commitment. The scenario was the prize with the set up being F where a line is drawn from each corner dividing the table into 4 triangles, the prize is in the middle, and we deploy either in the triangle areas opposite each other. The single figure in the centre is the prize, in this case a widow, Princess Lucky with huge tracts of land, a unit can grab her and move away with her. Get her off table and it’s an instant win with her and all her disposable assets.
Steve had the tactician ability giving him the initiative, I really must take that option next time! Steve again and two full fat command units. He moved his dismounted knightsforward to grab the Princess to remove her to his castle built in a swamp. I had lost sight of the objective of the game and faffed about with shooting to little effect. Realising what was happening I pushed my peasants forward to screen my best troops. These got shot to pieces and broken, meaning I really lost the initiative as my first activation had to be the broken units. Steve screened his kidnapping unit with slingers, so my dismounted knights had to cut their way through these. I did manage to run my mounted knights through the village to attack the kidnappers, unfortunately I only managed to kill one.
My spears tried to move through the bog but were broken by enemy firing meaning another broken unit to activate first.
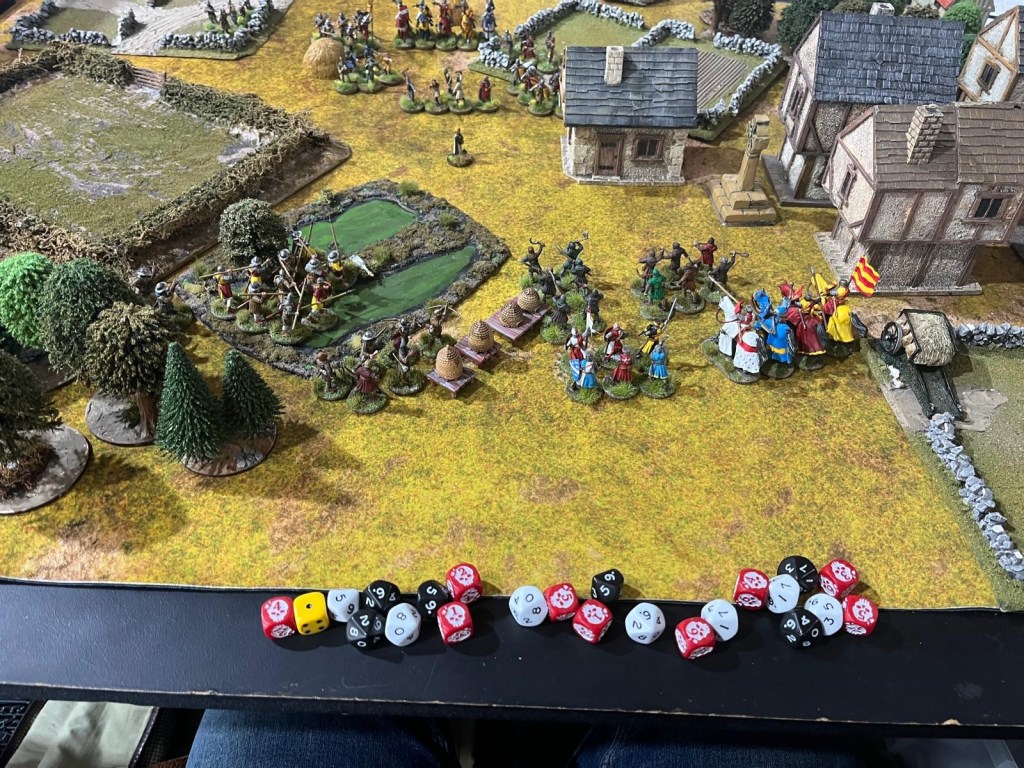
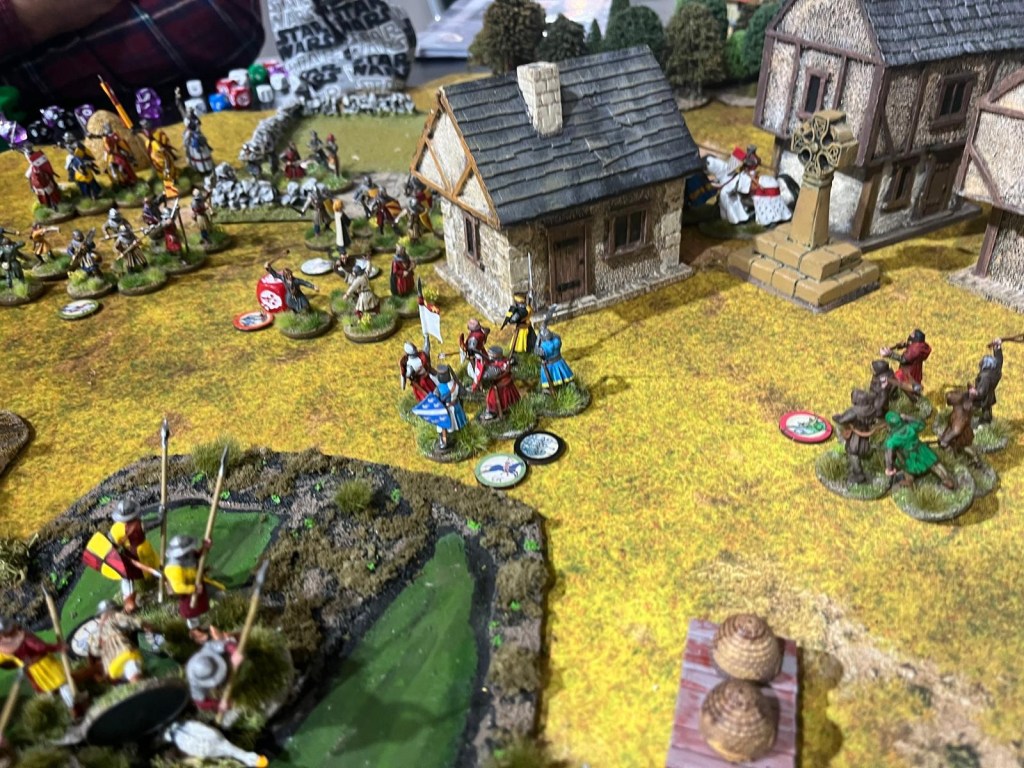
My slingers supported by my archers and crossbows were able to break Steves billmen and drive back his slingers. This gave space for my dismounted knights to pursue the kidnappers supported by the mounted knights. Steves own mounted knights counter attacked mine. I then found an interesting aspect of the rules, that mounted troops can benefit from cover. So my single remaining mounted knight (the rest were taken down by crossbow fire) was able to have a save of 2+. I managed to kill some of the dismounted knights with the princess who fell back into the woods. I then reorganisedagainst the field wall and had my final mounted knight charge the unit with the princess, killing one. Then time was called on turn 4 and the game was over with a win for Steve as he still had the princess. The below is the end situation.
I played it wrong at the start and Steve took advantage by focussing on the objective. It became a game of kiss chase with pointy objects as I pursued the unit with the princess.Unfortunately, I ran out of time as the kidnappers simply ran. But the game was fun and very different, I do like the scenarios that Barons War throws out. Steve obviously knew what he was about and didn’t take advantage of my noob status and was generous with his advice. There was an interesting discussion on banners here which led to the only rules interpretation asked from the TO. They allow you to a free attack OR defence dice in each combat action. So, if taken as an extra dice when making an armour save, is that it, or do you also get an extra dice for the shield save as well. Apparently, you do!
Game Four and closing to Endex, I was against Phil Hoey, a regular at Firestorm. The scenario was Hero Slayer (or as my notes show ‘kill shit’) and deployment was G, so we deployed from opposite table edges up to halfway. The table looked great and was teddy bear fur. The cloth had a bit of bounce to it, so with the light plastic figures it was sometimes like playing on a bouncy castle. The below two pics show the initial deployments. Again, Phil had two commands, but not quite full fat, just the banners and pennants. Again, the Tactician ability. The crossbows in the farm to the top left were particularly galling but fortunately the archers at the back had a bad day and couldn’t hit the side of a barn. Its hard to make out, but Phil had his lesser commander between the crossbows and archers. His main man on the right of the river, you can just see them above my mounted knights. He also had some green spear without armour or shields on my far right opposite my spear guys.
The battle went very well from my point of view helped by some outrageous dice rolling on my part. I almost felt like apologising to Phil for my dice at one point.
There was some shooting from Phils crossbows, and he had to move up his archers to get closer. My slings edged their way around the left side of the farmyard and drove the crossbows back slightly but were wiped out in return. My archers and crossbows took a couple of the dismounted command out on that flank. This forced them behind the fence into the farmyard. As Phils other command unit crossed the river to help his troops, they ran and were weary. So I managed to charge them with my mounted knights taking out a couple. The two spear units clashed and Phils lost half of his who were broken and spent the rest of the game running. Having them broken gave me the initiative.
My victorious mounted knights then attacked the levy archers breaking them. Phil took his damaged knights along the rivers edge and charged into those mounted knights who not only beat them but killed Phils retinue leader. These mounted knights must have been wearing armour blessed with every relic in the country as they were practically invulnerable. The game ended when my dismounted knights engaged Phils last command unit killing that leader for the game. Another interesting scenario and those mounted knights of mine were unstoppable. The previous games had taught me how to keep them away from enemy crossbow units and use the activation process to give the units in the army synergy.
Barons’ War works really well and although it might look complex it’s very intuitive. I enjoyed the Grand Melee and will be back next year. Some club members have already said they want to try the game and after this comp, I feel comfortable in running them through the rules.

Leave a reply to Chris Cancel reply